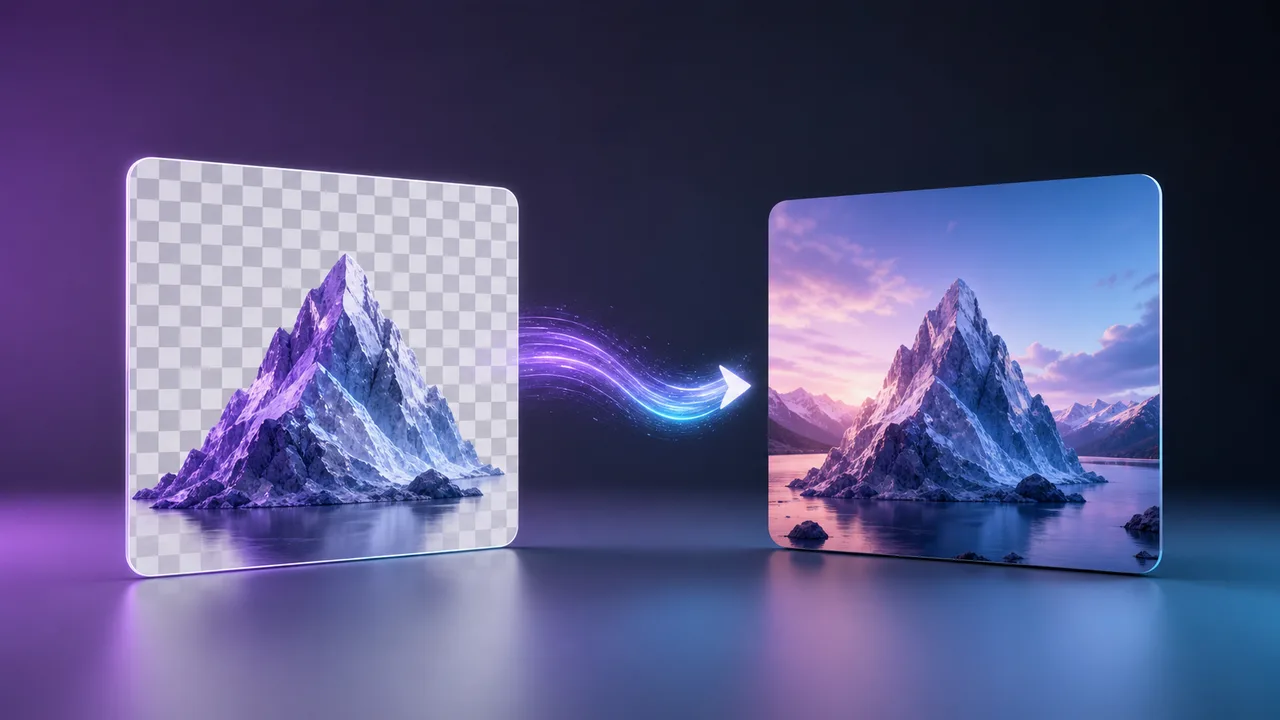
How to Convert PNG to JPG (and When You Should)
Learn how to convert PNG to JPG, when each format is the right choice, and how to shrink your images without losing quality.
Knowing how to convert PNG to JPG can dramatically shrink your image files and speed up your website. Both are everyday image formats, but they are built for different jobs — and choosing the right one is the difference between a fast page and a slow one.
PNG vs JPG: the core difference
PNG is lossless and supports transparency, which keeps sharp edges perfect but makes files large. JPG (JPEG) uses lossy compression that throws away detail your eye barely notices, producing much smaller files. That trade-off is why photos are almost always JPG and logos are usually PNG.
Which format for which job
| Format | Best for |
|---|---|
| JPG | Photos, banners, large images. |
| PNG | Logos, icons, transparent graphics. |
When you should convert PNG to JPG
- The image is a photo, where transparency is not needed.
- The PNG file is large and slowing your page down.
- You are uploading many images and want to save bandwidth.
One thing to watch out for
JPG does not support transparency. If your PNG has transparent areas, they will turn white after converting — so keep the original PNG for anything that needs a see-through background.
How to convert in seconds
You do not need heavy software. Our PNG to JPG converter changes the format instantly with an adjustable quality slider, all in your browser, and if you want the smallest possible files the Image to WebP converter goes even further using a modern format. For the technical background on how browsers handle these formats, Mozilla's MDN image types guide is an excellent reference. Convert once, keep an original, and your pages will load noticeably faster.
Choose quality by looking, not guessing
A quality slider is not a universal percentage of visual quality. Encoders and images behave differently. Start around 80–85, inspect the exported image at the size where it will be used, then reduce only if faces, text, gradients and sharp edges remain acceptable.
Compare both dimensions and bytes. Resizing a 4000-pixel photo to the actual display width often saves more than aggressive compression alone. Repeatedly opening and saving a JPEG accumulates damage, so every new export should start from the original PNG or source photo.
A publication checklist
- Keep the original file.
- Confirm that transparent pixels may become white.
- Use the correct display dimensions.
- Check small screens and high-contrast edges.
- Give the file a descriptive name and useful alt text.
Conversion is successful only when the smaller file still communicates the same information. For screenshots, diagrams and text-heavy graphics, PNG or WebP may remain the better choice.